...
To set up profile sync, follow these steps:
- Go to the synchronization site set up by Enterprise Travel Systems (httphttps://www.travsyncetravelsystems.com/SyncConfigDeemUI/).
- Enter your user ID and password, and click Log In. The first page appears with the following links at the top (Success Report is selected):
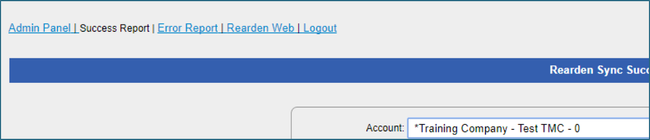
- Success Report: Provides real-time access to successfully synched profiles.
- Error Report: Provides real-time access to profile synchronization errors.
- Rearden Web: Processing profile synchronization maps.
- Logout
- Click the Rearden Web link. Account fields appear:
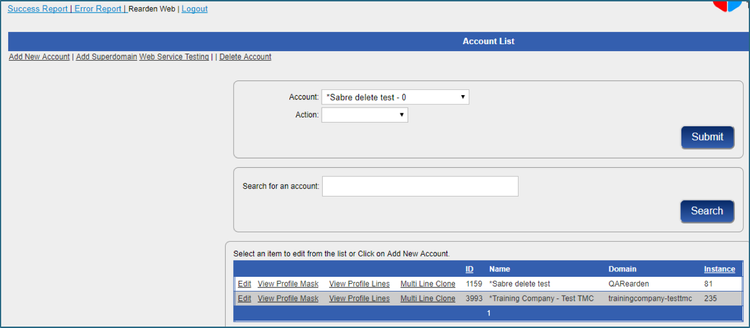
- Click the Add New Account link to create a new profile mask (map). The Add New Account screen appears:
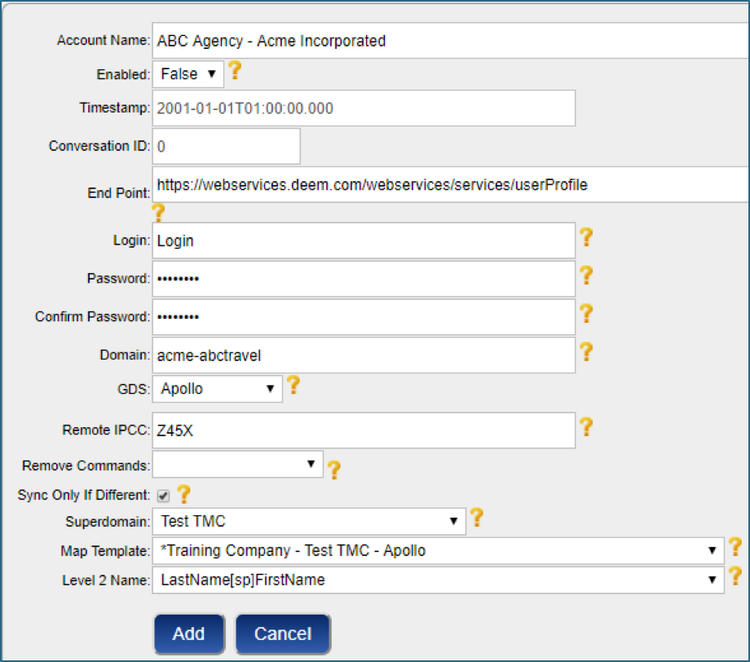
- Enter the following:
- Account Name: Enter the account name using the following format: Agency - Customer Name. For example: XYZ Travel – Acme Incorporated.
Note: If you use multiple maps for the same customer, include the group name (Agency – Customer Name – Group). - Enabled: Leave False for now. Choose True only after the configuration is complete to enable the account.
- End Point: This is populated with the web services URL. Do not change this value.
- Login/Password: Enter the value password in the password box and confirm password box fields.
- Domain: Enter the site short name (for example, acme-xyztravel).
- GDS: Choose the appropriate GDS from the dropdown menu.
- Remote iPCC: This should match the PCC on the Profile Mask page.
- Remove Commands: Choose your agency from the dropdown menu (for SABRE accounts only).
- Sync Only if Different: Click this checkbox if you want profiles to sync to the GDS only if data has changed since the last time the profile was synched to the GDS.
- Superdomain: Choose the super domain web service subscription assigned to the account from the dropdown menu.
- Map Template: Choose the appropriate map template from the dropdown menu.
- Level 2 Name: Choose the appropriate profile naming convention from the dropdown menu.
- Account Name: Enter the account name using the following format: Agency - Customer Name. For example: XYZ Travel – Acme Incorporated.
- Click Add to add the account.
...